
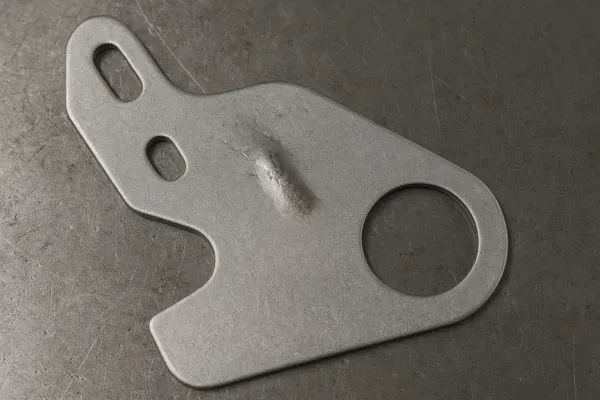
Perfect first articles look great. But mass production adds heat, wear, and coil drift. So buyers often approve clean samples and later face a line stop.
Stamping defects often appear after approval because the die warms, punches polish, and strip conditions drift. So buyers should validate the process with a run-at-rate trial. Measure parts at hit #1, #500, and #5,000 across the coil. Then lock CTQs into a PPAP-style control plan and reaction rules.
So I wrote this as a sourcing manager would use it. Also I wrote it as a factory team can execute it. Then you can copy these checks into your next RFQ.
Why do stamping defects appear after approval?
First-off samples come from a cold die and sharp edges. However, production warms the tool and shifts clearances. Also lubrication and coil tension drift over hours. So defects show up after hit #500, not hit #5.
Stamping defects appear after approval because warm-up changes the cutting and forming window. Punch edges polish, and burr height rises over time. Coil tracking also drifts, so holes can go oval or shift position. A run-at-rate trial shows these trends before mass production.

I see one buyer mistake too often. Buyers approve the first 30 pieces and move on. Then burrs grow and angles drift in real runs. So I treat first-off approval as step one only.
Dive deeper
Heat expands the tool, so contact points move. Also punch edges polish, so the cut face changes. Then burr height rises because the edge loses bite. I often see tonnage drift by 10–15% during warm-up. Also I often see die temperature rise from about 25°C to near 60°C. So I never approve a die using cold-only samples.
I also watch the coil, not just the die. Coil memory relaxes over time, so strip tracking can drift. Lubrication also changes, because flow and viscosity shift with temperature. So scratches may appear mid-run even with clean first-offs. Then misfeed events can start after the operator increases speed. So buyers can receive mixed good and bad parts in one lot.
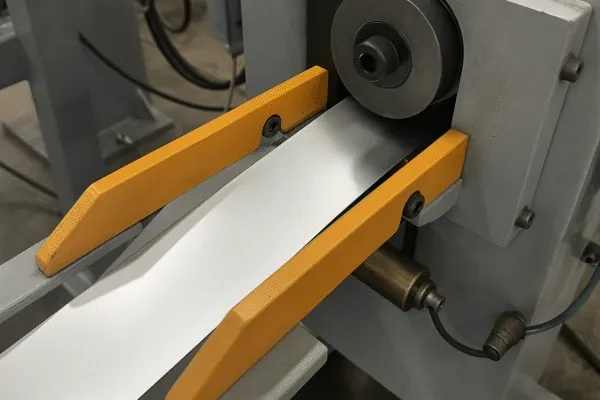
I handle this risk with a simple compare table. It keeps engineers and buyers aligned. Also it helps you explain the issue to internal teams fast.
| What you see | Cold die, first-off | Warm die, run-at-rate | Buyer risk |
|---|---|---|---|
| Edge condition | sharp and clean | polished and higher burr | safety and fit claims |
| Hole geometry | round and stable | oval trend begins | fastener failures |
| Forming angle | stable early | springback drift | assembly misfit |
| Surface | clean at start | scratches rise | plating rejects |
| Feed stability | tight and fresh | misfeed events appear | mixed lots |
The Top 17 stamping defects buyers must check?
I group defects by buyer impact, so you can prioritize fast. Also I add a quick cause and a buyer check. Then your team can build a stamping defects inspection checklist in minutes.
The top stamping defects fall into four groups: dimensional, forming, surface, and process defects. Each defect has a typical cause, a fast buyer check, and a clear supplier reaction. This structure helps buyers compare any custom stamping parts supplier using the same rules.
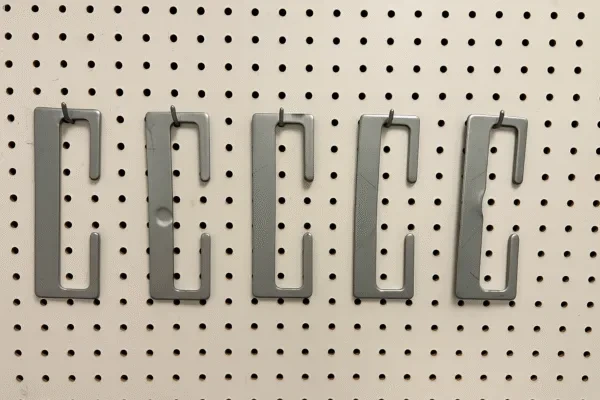
Dimensional and edge defects
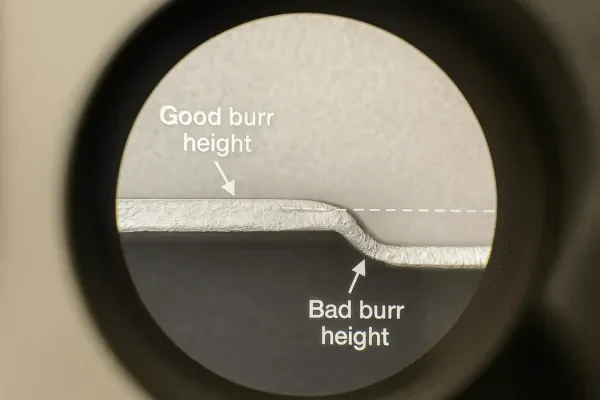
- Burr growth: Punch wear raises burr height, so trend burr at three hit points.
- Rollover too large: Clearance mismatch increases rollover, so compare edge profiles across pulls.
- Break zone imbalance: Poor clearance shifts burnish ratio, so inspect edge texture under consistent light.
- Oval holes: Strip shift or punch polish causes ovality, so measure two axes every pull.
- Hole position shift: Feed drift moves holes, so measure from fixed datums, not edges.
- Double hit marks: Misfeed repeats features, so verify pitch with a go/no-go fixture.
Forming and springback defects
- Flange angle drift: Springback changes with heat and coil, so check angle at #1, #500, #5,000.
- Warpage or oil canning: Residual stress deforms panels, so check flatness on granite with feelers.
- Wrinkles: Low restraint creates folds, so inspect radii and long walls for waves.
- Thinning: High strain zones lose thickness, so mic key points and track drift.
- Tearing or cracks: Over-forming starts micro cracks, so inspect corners with side lighting.
Surface and handling defects
- Scratches: Dirty guides score parts, so track scratch direction and repeat patterns.
- Dents and dings: Poor stacking damages edges, so inspect top and bottom carton layers.
- Foreign material marks: Chips imprint surfaces, so check press cleanliness and wipe tests.
Process and ejection defects
- Slug marks: Slugs bounce and dent parts, so inspect near pierced holes for craters.
- Extrusion height variation: Lube drift changes extrusion, so measure height and watch trend.
- Countersink inconsistency: Tool wear changes angle, so gauge countersink profile per pull.
Dive deeper
Buyers often ask me which defects matter most. So I focus on the five “deal breakers” that cause most claims. They also escalate fast after warm-up. So they deserve extra attention in your RFQ and PPAP plan.
Deal breaker 1: Burr growth. It starts small, but it grows over hits. So I set a numeric burr limit in mm. Then I demand a regrind schedule by hit count. Deal breaker 2: Oval holes. They may pass early pin checks. However, punch polish and strip drift grow ovality. So I measure two axes and plot drift. Deal breaker 3: Flange angle drift. It looks minor on a bench. But it can block fixtures on a line. So I check angle to the assembly datum. Deal breaker 4: Scratches. They rise when guides wear or debris builds. So I track scratch direction and carton layers. Deal breaker 5: Misfeed damage. It creates mixed lots. So I require sensors, alarms, and trace labels.
I also add a simple “defect-to-action” table for buyers. It reduces arguments because it ties facts to actions. Also it helps you audit an ISO 9001 certified stamping parts manufacturer during supplier selection.
| Defect | Likely cause | Fast buyer check | Supplier action |
|---|---|---|---|
| Burr growth | punch wear, clearance shift | burr gauge trend | regrind, reset clearance |
| Oval holes | strip shift, punch polish | two-axis measurement | replace punch, fix tracking |
| Hole shift | feed drift | datum-based fixture check | tune feed, add sensors |
| Angle drift | springback drift | angle gauge to datum | restrike, tune forming |
| Scratches | dirty guides, debris | light sweep, direction | clean guides, protect strip |
| Slug marks | slug bounce | scan near holes | improve slug evacuation |
Case study (social proof): A US automotive client saw oval holes on a 5mm bracket. So we added a restrike station and tracked punch wear by hits. Result: 0 defects across 500,000 parts in mass production.
How do I run a run-at-rate trial that survives PPAP?
A run-at-rate trial proves stability at real speed, real coil, and real lubrication. Also it shows trend risk over time, not one moment. So I sample at hit #1, #500, and #5,000 across coil positions. Then I attach results to PPAP-style documents.
A run-at-rate trial validates the true process window. Buyers should pull samples by hit count and coil position. Then buyers should record settings like tonnage, feed, lube, and die temperature. This makes PPAP for stamped parts faster and more reliable.
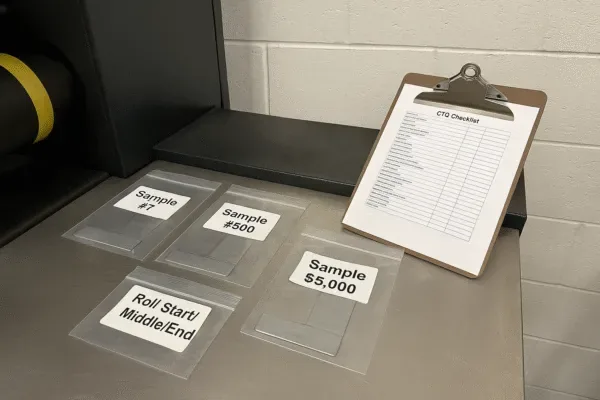
Run-at-rate trial map
- Pull at hit #1, #500, #5,000.
- Pull from coil start, middle, end.
- Measure CTQs first, then cosmetics.
- Record tonnage, feed, lube, temperature each pull.
Dive deeper
I treat run-at-rate as a buyer protection tool. So I keep it simple and repeatable. Also I keep it strict enough to expose drift. Then I use the same map for every reorder, so approvals stay consistent.
First, I define CTQs and datums before the trial. So we measure the same way every time. Then I run at the planned production speed. Also I use the same coil spec and lubrication as mass production. So the trial reflects reality, not a demo.
Next, I tag each sample with hit count and coil position. Then I measure and plot a small trend chart. I do not need complex statistics to see drift. But I do need consistent sampling. So I keep the three hit points and three coil points.
Then I log the settings that drive outcomes. I do not accept “we watched the press.” So I record tonnage, feed length, lube rate, and die temperature. I often see tonnage drift by 10–15% after warm-up. Also I often see die temperature rise from 25°C to 60°C. So I validate hot conditions before approval.
Finally, I attach the trial to a PPAP-style package. At Prime, we follow ISO 9001 discipline every day. So we keep traceability by lot and coil. Then buyers can approve fast and reorder with less risk.
| Step | What I ask for | What I review | Pass rule |
|---|---|---|---|
| DFM review | CTQs and datums | risk list | CTQs defined clearly |
| Setup | real coil and lube | setup photos | matches mass plan |
| Run-at-rate | real speed and shift | tonnage trend | stays in target band |
| Sampling | #1, #500, #5,000 | tags and trace | tags match records |
| Measurement | CTQs first | drift chart | no drift beyond limits |
| Reaction | wear and alarms | triggers | clear stop-and-fix |
| PPAP-style item | What I include | What it prevents |
|---|---|---|
| Control plan | CTQs, sampling, reactions | late drift arguments |
| Dimensional report | datums and CTQs | fit disputes |
| Material certs | grade and thickness | wrong input material |
| Run-at-rate summary | hit-point trends | first-off-only approvals |
| Packaging spec | separators and labels | dents and mixed lots |
| Trace method | lot and coil IDs | untraceable claims |
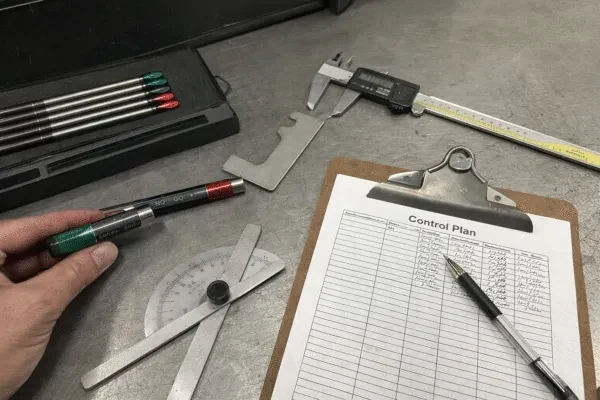
How do buyers build an incoming inspection plan that stops bad lots?
Incoming inspection must move fast. However, it must still catch drift and mixed lots. So I use a three-layer strategy and clear reaction rules. Then buyers quarantine risk before assembly.
A strong incoming inspection plan checks CTQs first, then cosmetics, then packaging damage. Buyers should sample across cartons and layers, not only the top box. Clear reaction rules stop debates and speed corrective actions.
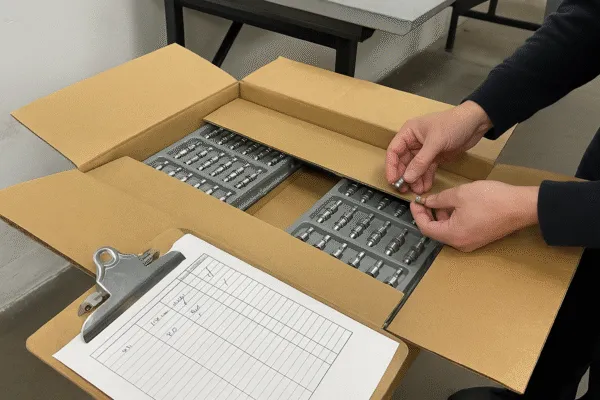
Three-layer incoming strategy
- Visual sweep for cracks, dents, and heavy scratches.
- Gauge sweep for hole size, slots, and fit blockers.
- CTQ measurement for position, angle, and flatness.
Sampling plan that catches drift
| Lot size | Visual sample | Gauge sample | CTQ measure sample | Sample spread |
|---|---|---|---|---|
| ≤ 5,000 pcs | 32 | 20 | 8 | 3 cartons, 3 layers |
| 5,001–20,000 pcs | 50 | 32 | 13 | start, mid, end cartons |
| ≥ 20,001 pcs | 80 | 50 | 20 | add bottom layer checks |
Dive deeper
Buyers lose money when they detect defects too late. So I make the incoming plan trend-focused. Also I make it easy enough for a warehouse team. Then it becomes a habit, not a special event.
I start with CTQs that block assembly. So I prioritize hole position, hole size, and flange angle. Then I check flatness if sealing matters. Also I measure burr height when safety matters. So I catch deal breakers first.
I also sample across the shipment, not just the top carton. Bottom layers often show dents from transit pressure. Mid cartons often show drift from the middle of the coil. So I spread samples across cartons and layers. Then I compare results side by side.
Finally, I set reaction rules before the first shipment. So nobody negotiates during a crisis. Then the supplier can act fast and document actions. This process supports buyers who need stable deliveries to North America, Europe, the Middle East, and Australia.
| Trigger | Example | Buyer action | Supplier action |
|---|---|---|---|
| Trend drift | burr rises across pulls | quarantine lot | regrind and recheck |
| Fit failure | pin gauge fails | stop usage | sort and replace |
| Cosmetic spike | scratches jump | isolate cartons | fix guides and packing |
| Trace gap | missing labels | hold receipt | rebuild trace record |
When should buyers add CNC after stamping?
Stamping gives the lowest unit cost at volume. However, some features need tighter control than stamping can hold. So I recommend CNC only for critical features. Then you protect fit without wasting budget.
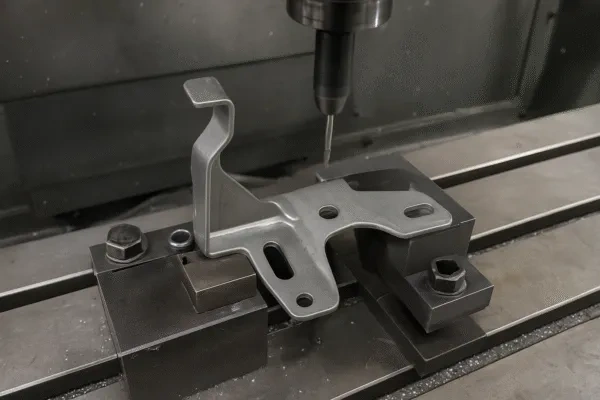
Buyers should use CNC parts precision machining only for critical features. Use stamping for the main shape and volume cost advantage. Then apply CNC only when a key tolerance approaches ±0.02 mm. This approach controls risk while protecting total cost.
Dive deeper
I see buyers worry about cost when they hear “CNC.” So I clarify the intent. I do not suggest CNC for every feature. Instead, I use it as a surgical step for CTQs only. So you keep the stamping cost advantage.
For example, I may stamp a pilot hole and then CNC-finish the final diameter. This controls roundness and size without machining the whole part. I may also CNC a sealing face after forming. This improves flatness with minimal cycle time. Then I keep all other features in stamping, so the unit price stays competitive.
This strategy also reduces tolerance stack risk. Stamping can shift slightly over long runs. So CNC can lock a datum that matters most. Then assembly stays stable even if minor features drift inside allowable ranges.
At Prime, we run stamping and CNC in one plan when the drawing needs it. But we do it only when the math supports it. So buyers see us protecting both quality and cost. That matters when you evaluate a new custom stamping parts supplier.
| Situation | Best approach | Why it saves money |
|---|---|---|
| Extreme CTQ hole | stamp pilot, then CNC finish | CNC touches only the CTQ |
| Tight datum stack | stamp, then fixture CNC | controls location drift |
| Seal surface | stamp, then CNC skim | improves flatness fast |
FAQs?
What is the best way to catch stamping defects before mass production? Use a run-at-rate trial at real speed and real material. Also measure CTQs at #1, #500, and #5,000.
Why do oval holes appear only after long runs? Punch edges polish and strip tracking drifts during warm-up. So ovality grows slowly over hits.
How do I specify burr limits in an RFQ? Write a numeric burr height limit in mm. Also define the measurement point and direction.
What PPAP items matter most for stamped parts? Control plan, dimensional report, and material certs matter most. Also a run-at-rate summary proves stability.
Will run-at-rate feel too heavy for a 5,000-piece order? It should not, because the process scales. So we can tailor trial depth to protect your budget.
Conclusion
Run-at-rate proof, clear CTQs, and PPAP discipline stop late defects and protect delivery schedules across global supply chains.
Are you tired of perfect samples and messy mass production? Whether you need 5,000 pieces or 5 million, our process scales to protect your quality. Also we keep ISO discipline and lot traceability on 10 production lines.
Explore Our Custom Stamping Parts
If you’re sourcing custom stamping parts and want a supplier that can support DFM feedback, stable mass production, and consistent inspection, visit our stamping capabilities page here:
Free tool request:
Run-at-Rate Inspection Sheet (PDF) Request the Free Checklist