
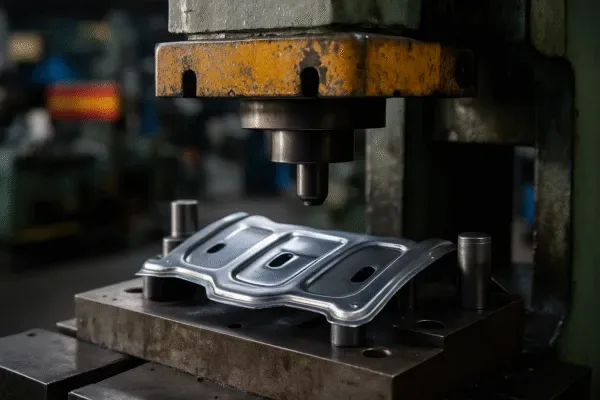
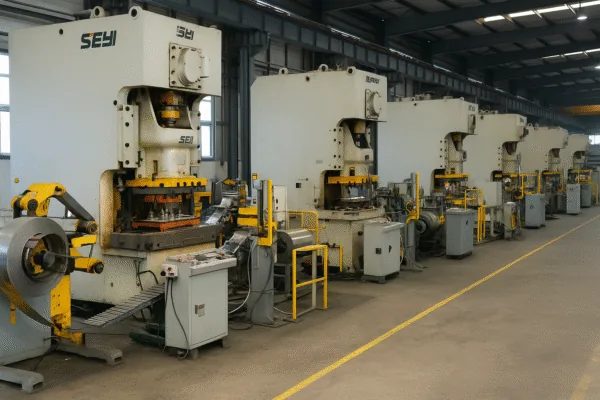
Struggling to control cost and quality in stamping parts?
Metal stamping involves seven critical steps that ensure precision and durability. Understanding each phase helps you source better, reduce costs, and avoid quality risks.
Most buyers ignore these details and pay the price. Learn how to control each stamping phase so your orders meet expectations.
What is the first step in the stamping process?
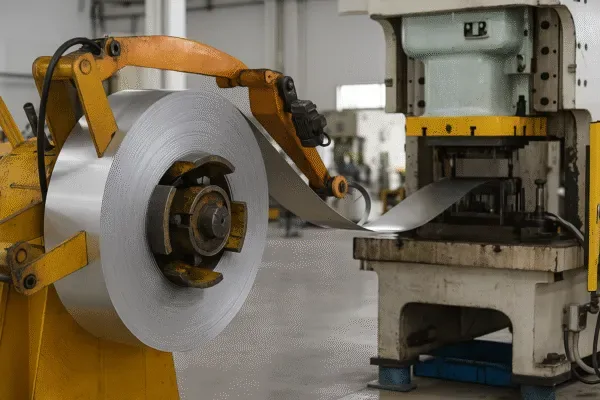
Choosing the wrong material can lead to defects and waste.
The first step in stamping is material selection and preparation. This step ensures the metal fits design specs and stamping strength.
Good suppliers check surface condition and thickness tolerance. Poor prep causes burrs, cracks, and inconsistent part dimensions.
Why material preparation matters
| Common Issue | Root Cause | Impact on Parts |
|---|---|---|
| Uneven surface | Dirty or oxidized coils | Cracks and surface defects |
| Thickness variation | Poor-quality sheet stock | Inconsistent dimensions |
| Improper hardness | Wrong material grade | Premature failure |
I once had a batch returned because the vendor skipped raw material inspection. Since then, I have always asked about their sourcing and prep process.
What happens during blanking?
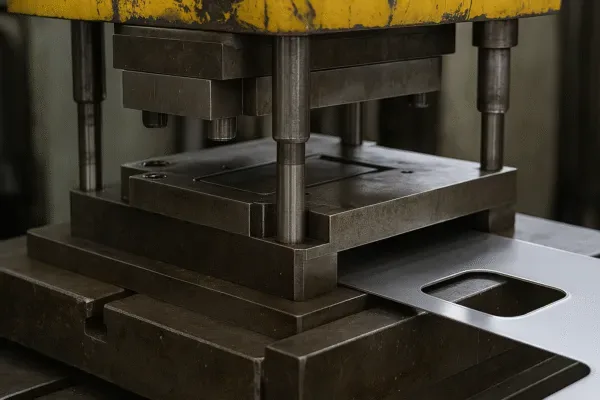
Cutting without burrs starts here.
Blanking is the second step, where the sheet is cut into desired shapes using a die.
Accuracy here affects the whole stamping line. If parts are off by even 0.1mm, later stages will misalign or jam.
Key checks during blanking
| Factor | Why It Matters |
|---|---|
| Die sharpness | Ensures smooth cuts and no burrs |
| Clearance setting | Controls part edge precision |
| Material feeding | Avoids misalignment and waste |
At Prime, we adjust clearance based on material type. That’s one reason we maintain ±0.05mm accuracy on our CNC-blanked parts.
What is the forming stage?
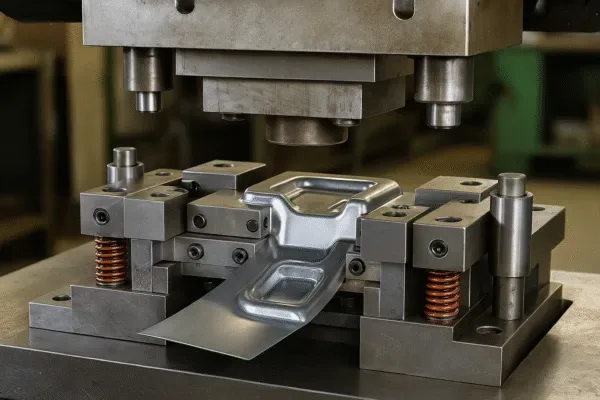
Too much force can split your part.
Forming transforms a flat blank into 3D parts by bending, drawing, or flanging.
It’s the most stress-intensive step. If your supplier lacks experience, they’ll cause warping or cracks, especially in deep-draw components.
Best practices during formation
| Checkpoint | Best Practice |
|---|---|
| Tool material | Use hardened steel for durability |
| Lubrication | Reduce friction and wear |
| Press calibration | Apply precise pressure for each draw |
We’ve handled thousands of deep-draw components for auto and telecom clients. Using FEM simulation helps us predict stress points before tooling.
What is piercing, and why is it important?
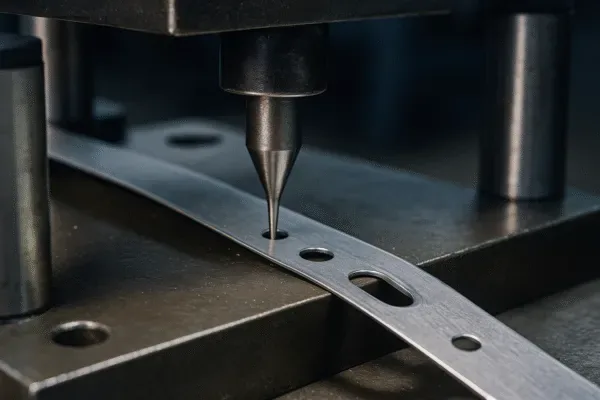
Poor hole quality ruins the assembly later.
Piercing creates holes or slots in the stamped parts, typically for fastening or function.
Misaligned holes can delay your downstream operations. Precision here depends on die sharpness, press speed, and alignment.
Critical checks for piercing
| Parameter | Ideal Value/Range |
|---|---|
| Hole diameter tolerance | ±0.02mm |
| Punch wear rate | Check every 10,000 cycles |
| Burr height | Under 0.03mm for a smooth fit |
We once redesigned a die for a German client to add pilot holes. It saved 2 seconds per unit in their assembly line.
What happens during trimming?
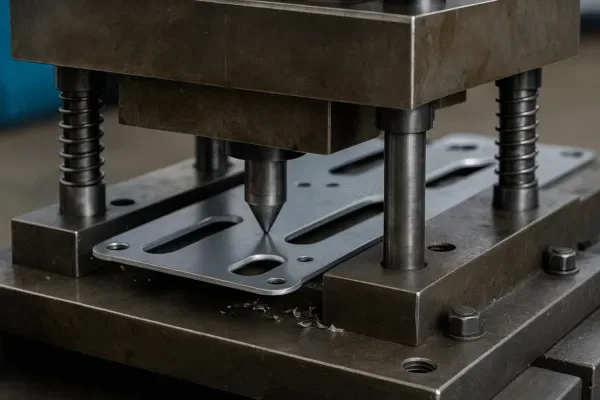
Don’t let leftover edges harm your function.
Trimming removes flash or excess metal after forming or drawing. It defines the part’s final profile and edge finish.
Improper trimming leads to sharp edges, inaccurate fit, or dangerous burrs.
Trimming quality checklist
| Issue | Solution |
|---|---|
| Irregular flash | Regrind dies regularly |
| Misalignment | Use precision guide posts |
| Sharp edges | Deburr all contact surfaces |
At Prime, we perform a 100% visual inspection after trimming.
What is the purpose of cleaning and deburring?
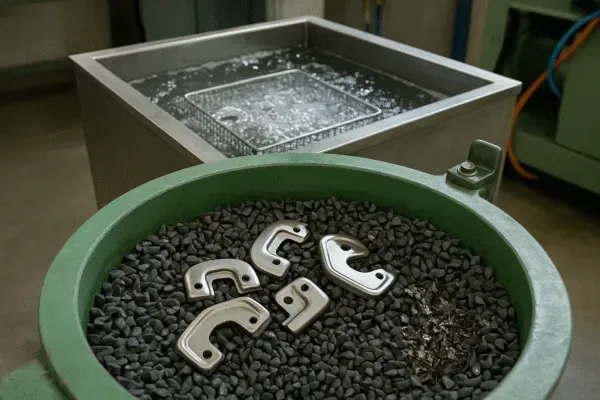
Cleaning and deburring remove grease, particles, and micro burrs.
What to verify in this step
| Task | Why It’s Important |
|---|---|
| Use a neutral cleaner | Avoid chemical damage |
| Dry parts completely | Prevent rust or residue |
| Check under a magnifier | Ensure no micro burrs remain |
Why is final inspection and packaging crucial?
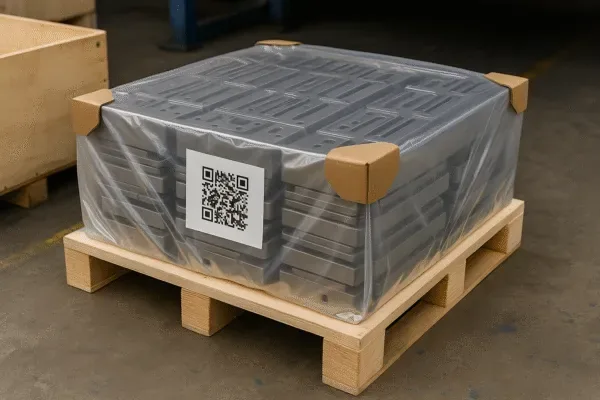
Final inspection and packaging prevent shipping damage and verify that specs are met before delivery.
Prime's packaging features
| Feature | Function |
|---|---|
| PE foam inner layers | Prevent metal-to-metal contact |
| Moisture-proof bags | Protect during long ocean shipping |
| QR-coded batch labels | Ensure full traceability |
Conclusion
Understanding all 7 stamping steps helps you source quality parts with less risk and more control.
Looking for a reliable ISO-certified stamping parts supplier?
Contact Prime today through our website:
👉 https://primefabworks.com/
Get a free quote, expert engineering feedback, and packaging samples.
We’ll help you meet your timeline, control cost, and never miss another selling season.